How to Insulate a Greenhouse for Winter UK
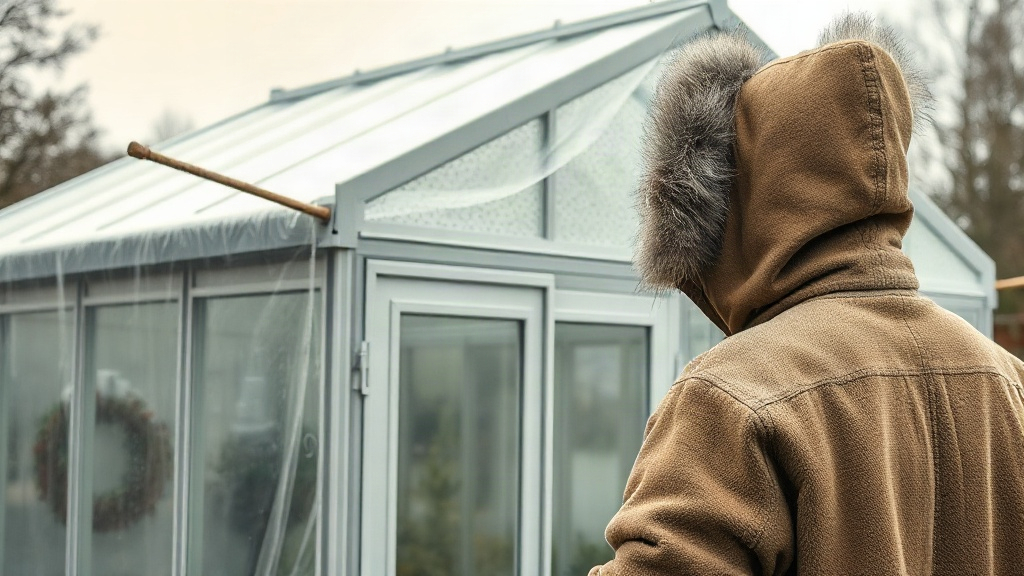
By the first week of October, bubble-wrap insulation should already be lining most UK greenhouses to protect overwintered fuchsias, pelargoniums, and other half-hardy plants from the season’s first frosts.
As an Amazon Associate we earn from qualifying purchases. Some links on this page are affiliate links, which means we may earn a small commission if you make a purchase.
This guide walks through what actually works in a UK winter, starting with why insulation comes before any heater you might be considering.
The foundation: why insulation beats heating alone
There is a simple rule that gets ignored constantly: insulate first, heat second. If you drop £150 on a thermostat-controlled heater but leave the glass unlined, you are paying to heat the outdoors. That money goes straight out through the panes.
A secondary thermal barrier — created by lining the inside of your greenhouse with large-bubble polythene — traps a layer of still air between the glass and the interior. That gap slows heat loss dramatically. According to Greenhouse Stores, effective insulation is the single most significant factor in reducing winter running costs, potentially lowering heating bills by up to 50%. That is the difference between a manageable winter growing project and one that costs more than you bargained for.
Even without a heater running, an insulated greenhouse holds heat better than an unlined one. Overnight, when temperatures across most of the UK drop well below freezing, that extra retention matters. A well-insulated structure typically maintains temperatures several degrees above the outside reading — enough to keep most half-hardy plants alive through all but the harshest spells.
If you are thinking about heating your greenhouse, sort the insulation first. Any heater added to an unlined structure will work harder, run longer, and cost more. The insulation is the baseline. Once it is in place, you can make a much more accurate decision about whether you actually need active heating at all.
If you are weighing up your heating options alongside insulation work, there is a separate guide on greenhouse heating that covers the main heater types and their running costs.
Selecting horticultural-grade bubble wrap
This is where most people go wrong. They see “bubble wrap” and head to the packaging aisle. The wrap they find is cheap, looks identical, and by March it is cracking and splitting under the UV light that comes through glass. One winter of use, and it is ready for the bin.
Horticultural-grade bubble wrap is not the same product. The difference is UV stabilisers — chemical additives that slow down the degradation caused by prolonged UV exposure. Without them, polythene becomes brittle. With them, it holds together for multiple seasons. The RHS recommends using bubblewrap specifically designed for greenhouse insulation. One season of packaging wrap is a false economy.
Look for large bubbles. The horticultural rolls on Amazon UK are 10mm and 25mm, not a 30mm sheet. The larger one is Elixir Gardens 1.5m x 10m triple-laminated 25mm bubble wrap with 90 fixing clips (paid link). The material should be UV-stabilised. If the listing does not mention UV resistance or horticultural use, it is packaging grade.
Check Elixir Gardens 25mm bubble wrap price → (paid link)
Light penetration is another consideration. Horticultural bubble wrap lets light through, though a well-fitted layer reduces light levels by roughly 5–10%. This is negligible in winter when daylight is already the limiting factor. The heat retention benefit far outweighs any marginal light loss.
The checklist when you are shopping is short: UV-stabilised, horticultural rather than packaging grade, and a bubble size the listing actually states. The 25mm roll above is the large one. A 10mm triple-laminated roll is a thinner sheet, not the same thing.
The fitting detail — bubble size, clips, and where the wrap actually fails — is in using bubble wrap for greenhouse insulation .
Practical installation guide
Fitting the wrap is straightforward enough that most people can do it in an afternoon, but a few details make the difference between a tidy job and a frustrating one.
Clean the frame first. Remove any shading netting, old clips, or plant hangers. Wipe down the aluminium or wood to ensure a clean surface and to spot any cracks or damaged seals you need to address.
Measure twice, cut once. Walk the perimeter with a tape measure and note the dimensions of each panel, including the roof sections. Add a small overlap — a little extra on each side — so you have room to work and can seal the edges. Measure each panel individually; greenhouses are rarely perfectly uniform.
Fix the wrap to the frame. Greenhouse twist clips (100 pack) (paid link) are the standard tool for aluminium-framed greenhouses — they twist into the channel on the frame and hold the wrap in place. They are easy to install and quick to remove in spring. Quality varies, and cheaper clips can feel flimsy. It is worth spending a little more on a known brand.
View Greenhouse twist clips (100 pack) on Amazon → (paid link)
An alternative is greenhouse tape — a heavy-duty double-sided tape designed for the job. It sticks directly to the frame and holds the wrap firmly. The downside is removal in spring, when adhesive residue can be a faff to clean off.
Seal around the door and vents. Even small gaps at the bottom of the door or around vents can undermine the insulation effect for the whole structure. Use weatherproof tape or a draught excluder strip to seal these areas. A greenhouse that stays surprisingly cold at night often turns out to have a door gap — it is a small fix that makes an outsized difference.
Keep ventilation in mind. Sealing everything completely is tempting, but you still need air movement on mild, sunny days. Winter humidity causes condensation, and condensation causes fungal problems. Ventilate whenever conditions allow, which is most mild days.
Clips and how they hold the wrap are covered in using bubble wrap for greenhouse insulation .
Addressing heat loss through floor and door
Most attention goes to the roof and walls, but the floor is a significant heat loss point. Heat rises, meaning the warmest air sits at the top, while the floor is where cold from the ground seeps in. For staging areas where you are growing plants in pots, this is particularly relevant because pots sitting directly on an uninsulated floor can freeze from below.
The fix doesn’t need to be complicated. A layer of heavy-duty bubble wrap or a tarpaulin laid under the staging provides an insulating barrier. Some people use carpet offcuts or wooden boards. Whatever you use, the principle is the same — break the direct contact between the floor and your plants.
The door deserves its own attention. A simple draught excluder — the kind you would use on a house door — works well. Fix it to the inside of the door frame at the bottom so it seals against the threshold when closed.
While you are sealing gaps, check the vents too. Over-rigid sealing is a mistake some beginners make — they tape everything shut for winter and then wonder why their greenhouse develops a mould problem by February. You need some airflow. Ventilate whenever conditions allow. On sunny winter days, even a crack of a vent makes a difference to humidity levels.
Sealing the gaps without taping the vents shut for the whole winter is covered in how to seal greenhouse doors and vents .
Deciding if you need supplemental heating
After insulation, heating is the next tool in the toolkit. An insulated greenhouse needs far less heating to maintain the same temperature, which means you can run a smaller, cheaper heater, or run it less often.
The target for frost protection is typically around 4°C — enough to safeguard the majority of half-hardy plants. Insulation alone will get you close in most UK winters, particularly in the south and coastal areas. In Scotland, the north, or inland areas prone to hard frosts, insulation may not be enough on its own through January and February.
If you do need heat, here is what is worth knowing about the main options.
Electric thermostat heaters are the most common choice for hobby greenhouses. Set the target temperature and the heater runs only when needed. In practice, thermostat accuracy varies. Budget thermostats often have a margin of error, so don’t treat the temperature setting as gospel. Buy a separate min-max thermometer to verify what is actually happening inside.
For something with more output, the DAHTEC 2000W ceramic fan heater with thermostat (paid link) is compact and portable. It heats up quickly, which is useful if you are running the heater intermittently. The trade-off is that it is better suited for occasional supplementary heat than as a primary winter heater — and its controls are basic.
Buy DAHTEC 2000W ceramic fan heater with thermostat on Amazon → (paid link)
A thermostat controller is worth considering regardless of which heater you choose. Plug-in controllers let you control any electric heater precisely via a temperature probe. They’re straightforward to set up, though durability can be inconsistent and some units develop calibration drift over time. Fine for monitoring purposes, but check the readings against a separate thermometer periodically.
No heater at this price point is maintenance-free. The thing that matters most is pairing whatever heater you choose with decent insulation — that reduces how hard any heater has to work and extends its working life.
For a broader look at what is available, see the full greenhouse heaters guide.
Tracking conditions and plant suitability
You cannot manage what you do not measure. A min-max thermometer is one of the most useful pieces of equipment for any winter greenhouse.
It records the highest and lowest temperature since you last reset it, which tells you what actually happened overnight. Digital models provide immediate readings, while analogue versions offer simplicity and reliability.
Make a habit of checking and resetting the thermometer every few days during cold snaps. A written log takes seconds to maintain and gives you a clear picture of how your greenhouse performs. That data tells you whether your insulation is doing enough, whether your heater is running when it should, and when you might need to add fleece protection.
Understanding plant hardiness matters here. The RHS classification system gives you a framework for knowing what survives where:
- Half-hardy (H3) plants tolerate light frost and are the right fit for an insulated but unheated greenhouse. Fuchsias, penstemons, and some salvias fall into this category.
- Tender (H2) plants need frost-free conditions, which requires heating in most UK winters.
- Warm temperate (H1C) plants need consistent temperatures above 10°C, which means full heating in a UK winter and isn’t the subject of this guide.
The practical move for most people with an unheated greenhouse is to focus on H3 plants and accept that anything more tender needs either a heater or a move indoors. Horticultural fleece works as an additional layer on the coldest nights. Pre-shaped fleece jackets make them easy to pop on and off individual plants.
What you grow matters as much as how you insulate. If you haven’t thought through the plant side of things, what to overwinter in a greenhouse covers the practical options for both heated and unheated setups.
Common insulation questions
Can I use standard bubble wrap from Amazon?
Standard packaging bubble wrap does provide some insulation — it traps air, which is the mechanism that makes it work. The problem is that it is not UV-stabilised, so it degrades quickly. It typically becomes brittle and cracks within one winter. Horticultural-grade wrap is a better investment: it costs a little more upfront but can last multiple seasons.
Will insulation stop condensation?
No. Condensation happens when humid air meets a cold surface. Insulating the glass helps reduce the temperature differential, but humidity from moist compost, transpiration, and watering still has to go somewhere. The fix is ventilation. Open a vent or the door for an hour on mild days to let moisture escape.
What is the minimum temperature for frost protection?
Most plants described as frost-hardy will survive light frosts, which an insulated greenhouse can manage in most UK areas. For tender plants that need genuine frost-free conditions, temperatures above 4°C are the target. In very cold winters, even a well-insulated unheated greenhouse may struggle to maintain that minimum, which is when a heater becomes worth considering.
Greenhouse Bubble Wrap Comparison
| Feature | Horticultural Grade | Packaging Grade |
|---|---|---|
| UV Stabilisation | Yes (multi-season) | No (degrades fast) |
| Bubble Size | 25mm horticultural, or 10mm | Small packaging bubbles |
| Durability | Tri-laminated options | Brittle after 6 months |
| Light Transmission | 5-10% reduction | Similar reduction |
| Best For | Long-term winter use | Short-term DIY projects |
Your winter preparation sequence
Insulate first — Begin with our bubble wrap installation guide to properly line your greenhouse structure.
Seal gaps second — Once insulated, move to door and vent sealing to prevent cold air infiltration.
Consider heat last — Only after insulation is complete, assess if you need supplemental heating based on your plants’ needs.
This sequence ensures you address the most impactful improvements first, building protection systematically rather than randomly tackling elements.
None of this is complicated, and none of it needs to be expensive. A roll of horticultural bubble wrap and a Saturday afternoon provides the foundation. Heating choices sit in best greenhouse heaters for a UK winter , and the plant list is in what to overwinter in a greenhouse .
Explore More Topics
Quick answers:
Go deeper on specific topics:
- Using Bubble Wrap for Greenhouse Insulation
- Greenhouse Floor Insulation Methods
- How to Seal Greenhouse Doors and Vents
Sources & Further Reading
As an Amazon Associate we earn from qualifying purchases. The products linked above are ones we think are worth a look.
Note: General guidance only, verify details with a qualified professional or official source.